A word on visuals: Image resources
You might be willing to include images in your next presentation, but might be confused to know where to start. In this post I give a provide resources on where to get free images, how to choose good images and how to process them to fit your needs.
 |
| Sadly, I forgot to take my camera to Paris. You got to love Wikipedia! |
I'm back from a (long) summer holiday in partly Paris. I was really impressed by the quality of their advertisements. I was in fact so impressed that I'm again immersed in graphic design and photography. So I thought I would write about photography resources: where to get free photos, what makes a image good for a presentation, and some tips on how to improve those free photos to get them to work.
Where to get free but good images?
I have mentioned this place already, but it so good I'll mention it again. Compfight is a Flickr search engine that filter images according to their license, either commercial or creative commons.
So people already know that Wikipedia is another great place for images, but what I have found even more helpful is their Wikipedia featured pictures. According to them, "these are images that the Wikipedia community finds beautiful, stunning, impressive or informative."
But even a better source of image in the Wikimedia is Wikimedia Commons. The quality of their images is even better. But there is no reason to stop for static images, in commons you can also download video and audio.
What makes an image good for presentations?
What makes an image good for presentations is the title of a two part series article at Powerpoint Ninja on basic information on how to choose good images for presentation. The article has two good related sources on composition in photography:
5 Elements of composition in photography
10 Top Photography Composition rules
How to improve those free photos to get them to work?
So now you know where to get images and what to look for to make them work, but here is the caveat. Seldom images come in the way you want them or need them. If you know your ways into the GIMP of Photoshop you won't have trouble getting images ready, but if you don't, first start by learning how to use the curve tool:
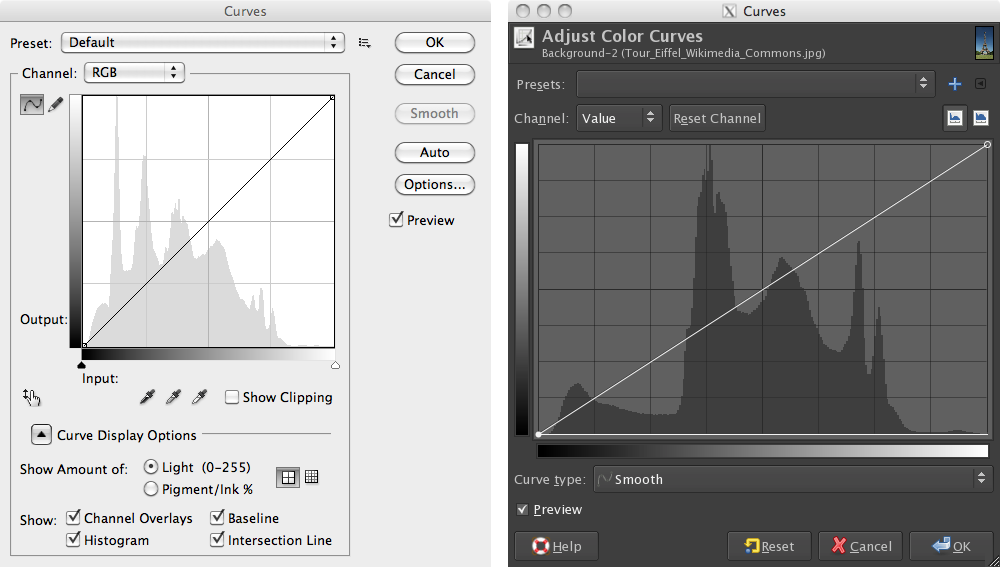 |
| The curve tool window is a mighty tool for image correction. Left Photoshop, right The GIMP |
The after picture in the before-after of the Tour Eiffel (image downloaded from the "Tour Eiffel" Wikipedia page) was just a two click process. Learning about layers and blending modes also pays off.


Comments
Post a Comment